You're previewing the student experience. You don't need to complete this lesson — your progress and XP aren't saved.
Microbit JavaScript
Intermediate
60 mins
Teacher/Student led
+240 XP

What you need:
Chromebook/Laptop/PC

Introduction to JavaScript

In this lesson, you'll explore the basics of JavaScript, a popular programming language for making websites interactive. Follow step-by-step instructions to write your first JavaScript code, switch between block and text views, and create simple programs on a Microbit.
Teacher Class Feed

Load previous activity

    1 - What is JavaScript?

    Just like we have many different languages in the world like English, French, Spanish, Japanese and so on, there are many different programming languages in the world and JavaScript is one of those.

    In fact it's actually the most popular programming language and is used by nearly every website because it is very useful for making websites interactive.

    So far you have learned how to create code used blocks like these:

    basic.showString("Hello!")
    

    JavaScript is a textual programming language which means that we type out the code rather than using blocks. Here is the same code as above but in the JavaScript language:

    basic.showString("Hello!")

    2 - Sequence

    When we run our blocks code, the computer runs the first block in the sequence, then the next, then the next and so on.

    basic.showNumber(1)
    basic.showNumber(2)
    basic.showNumber(3)

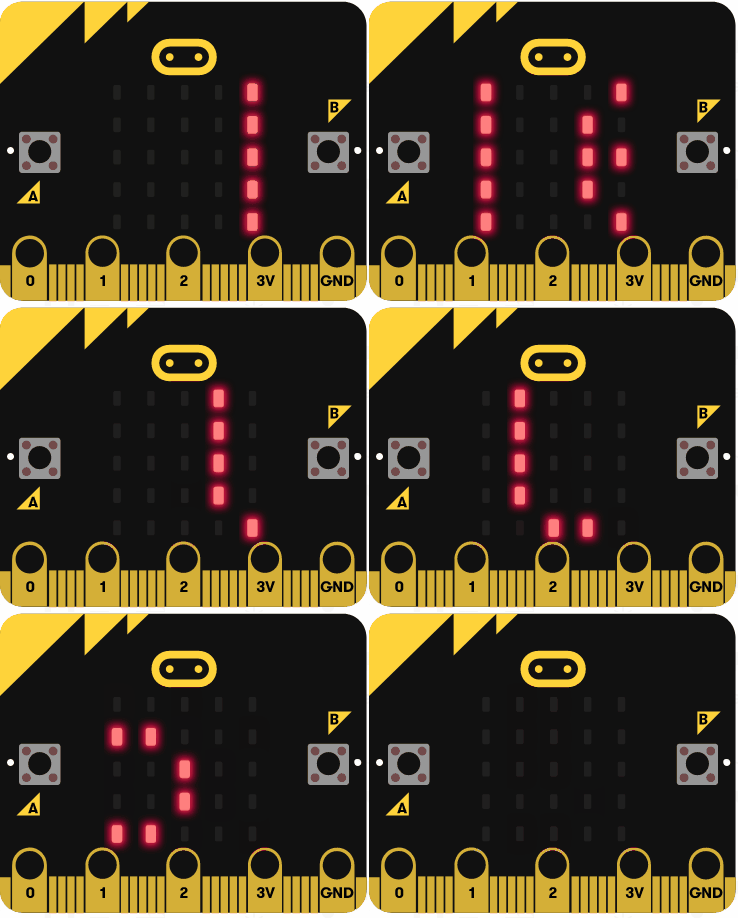
    JavaScript does the same thing, it runs the first line of code, then the next line, then the next line and so on.

    basic.showNumber(1)
    basic.showNumber(2)
    basic.showNumber(3)
    

    3 - Try some JavaScript!

    Let's dive in and try write your first piece of JavaScript code. The Makecode Microbit project editor also let's you write your code in JavaScript so we will use that.

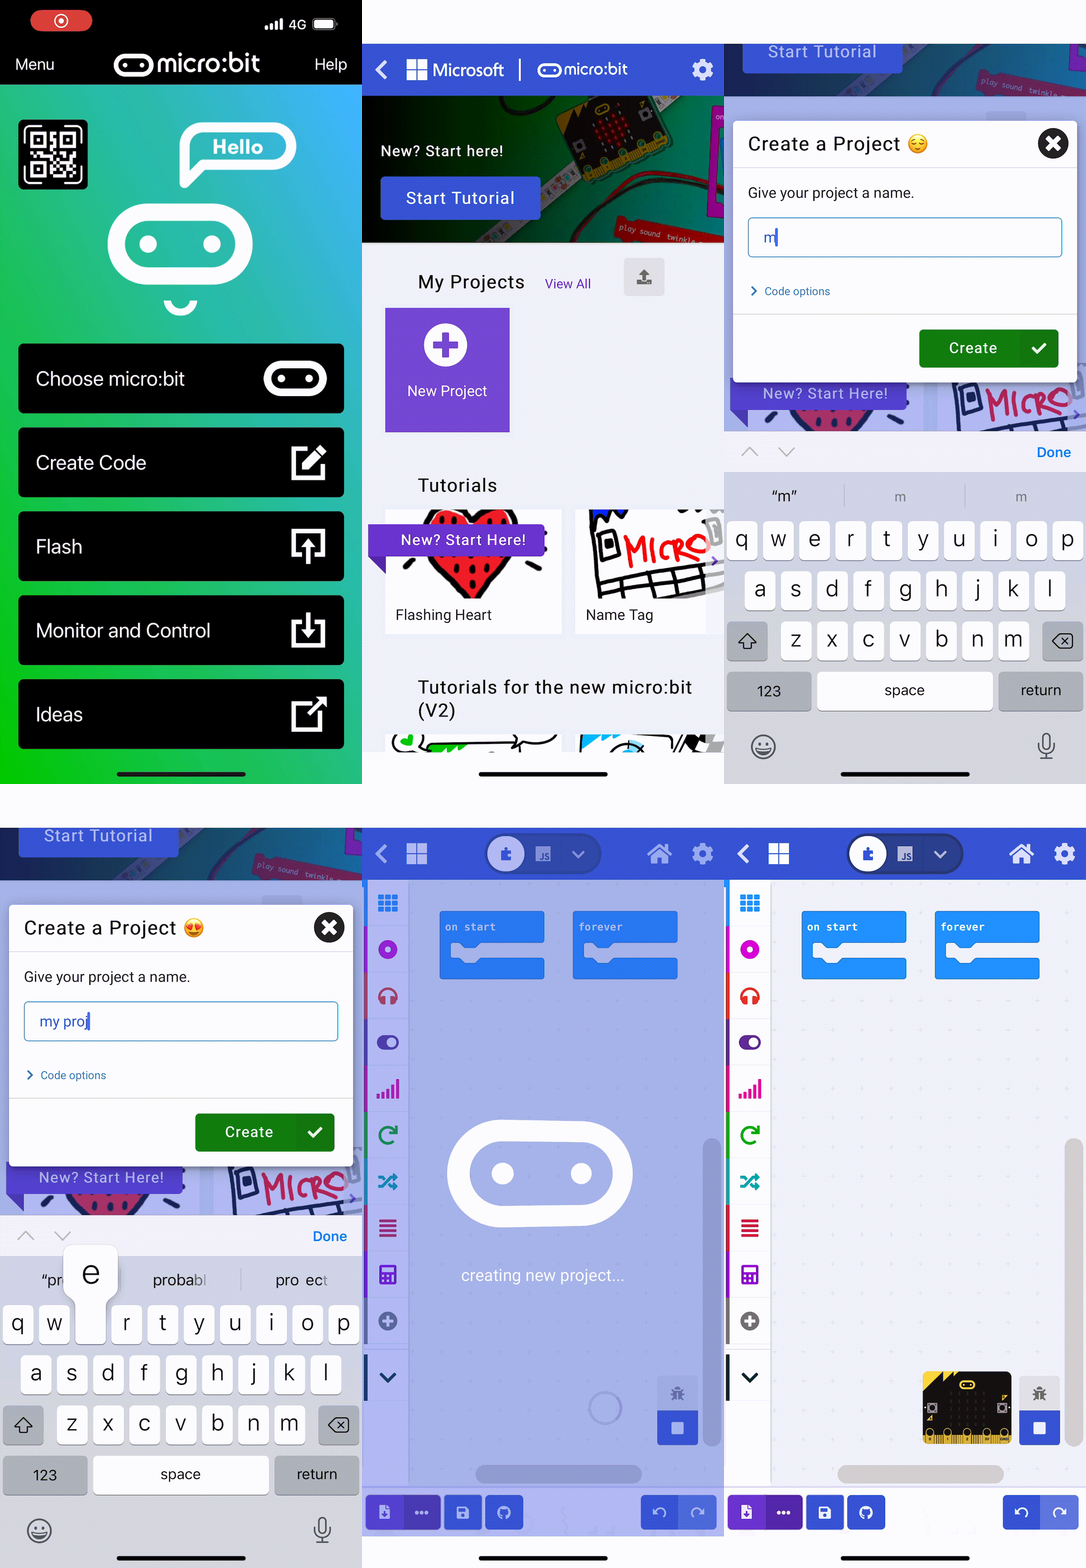
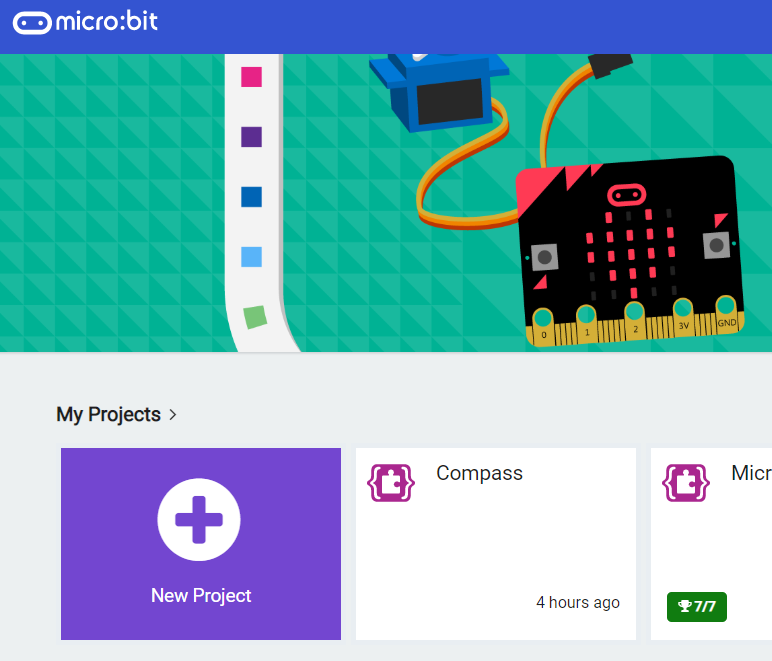
    Go to the https://makecode.microbit.org website and create a new project.

    4 - Create code using blocks

    Let's start off by creating some code using the blocks.

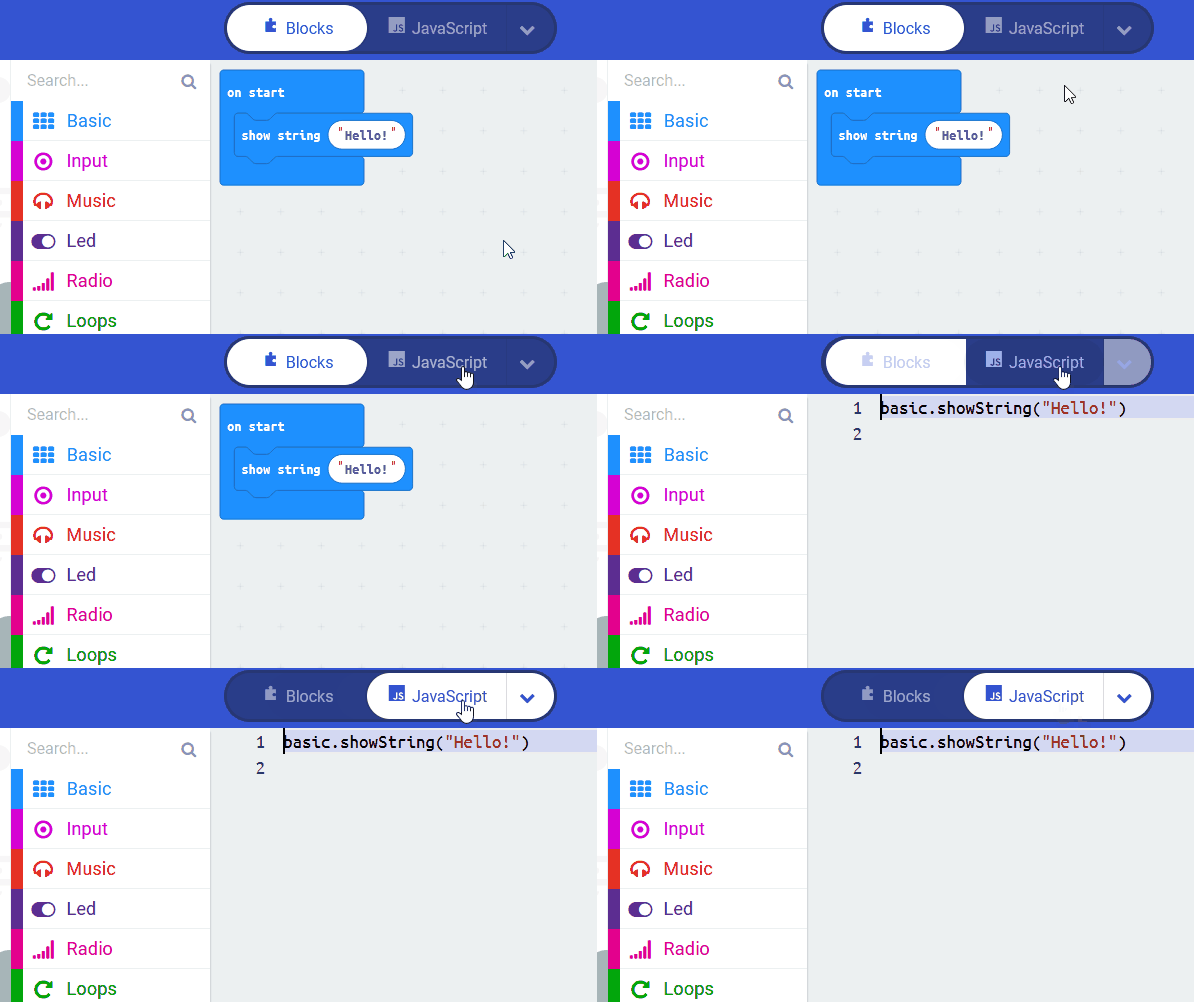
    Add the following code to your project.

    basic.showString("Hello!")
    

    5 - Switch to JavaScript

    Click on the JavaScript button at the top to switch your code view from Blocks to JavaScript.

    This will show you your code in JavaScript. Although it looks different, it's actually the same code and does the exact same thing.


    6 - Change the code

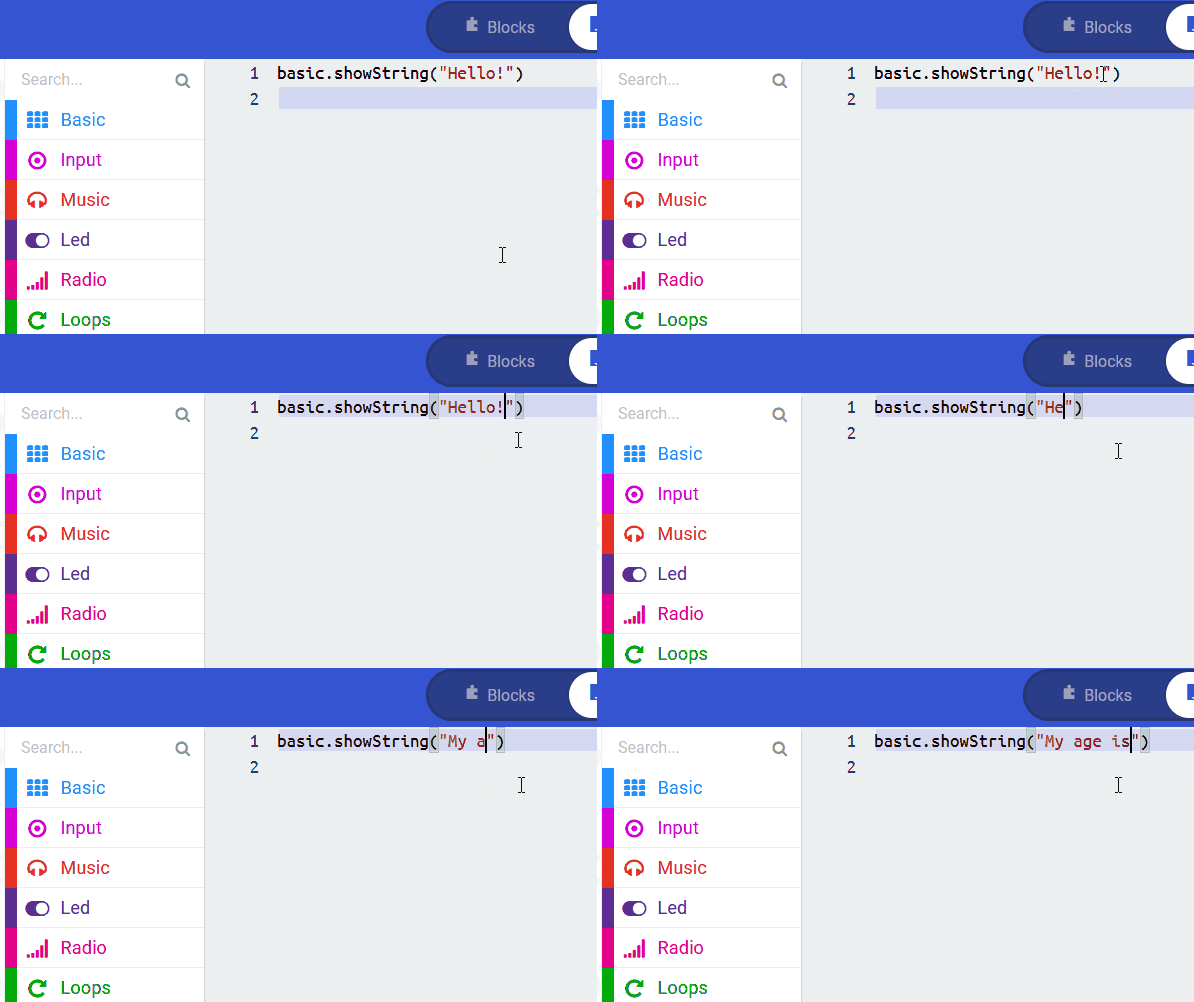
    Now let's change the JavaScript code. At the moment the code is making the Microbit show the string "Hello!". Change the code so that it shows the string "My age is".

    basic.showString("My age is")

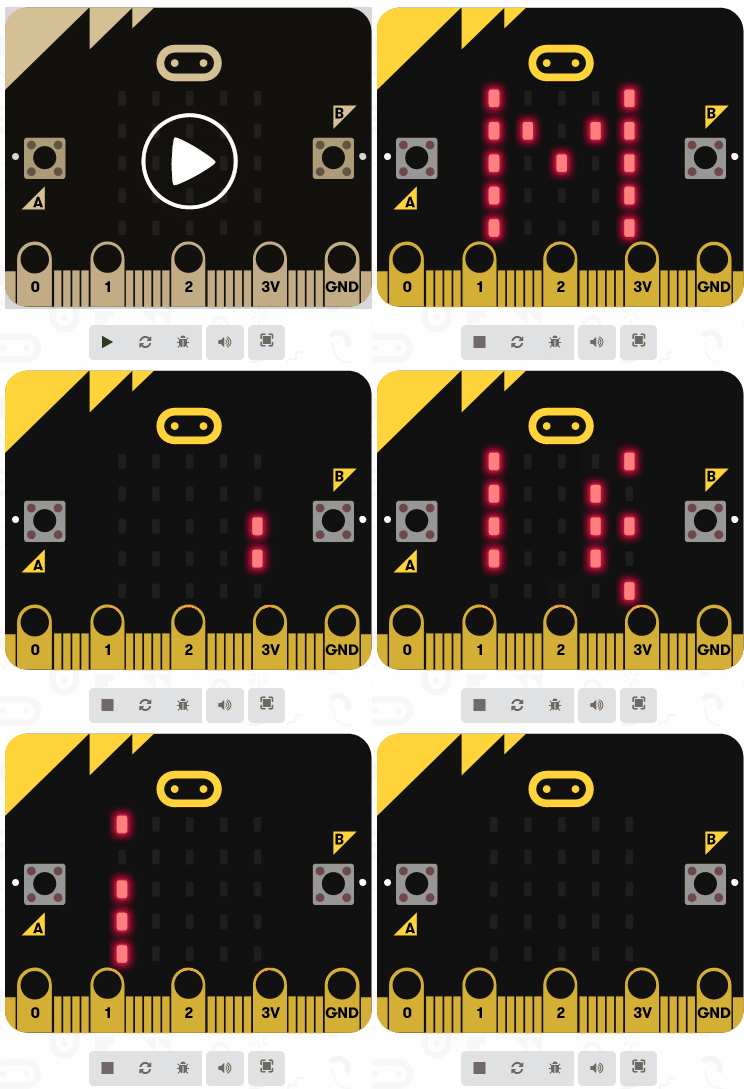
    Once you have changed the code, run the code in the Microbit simulator and it should show the string "My age is".

    Note: a "string" just means some text that has letters in it.


    7 - Program your age

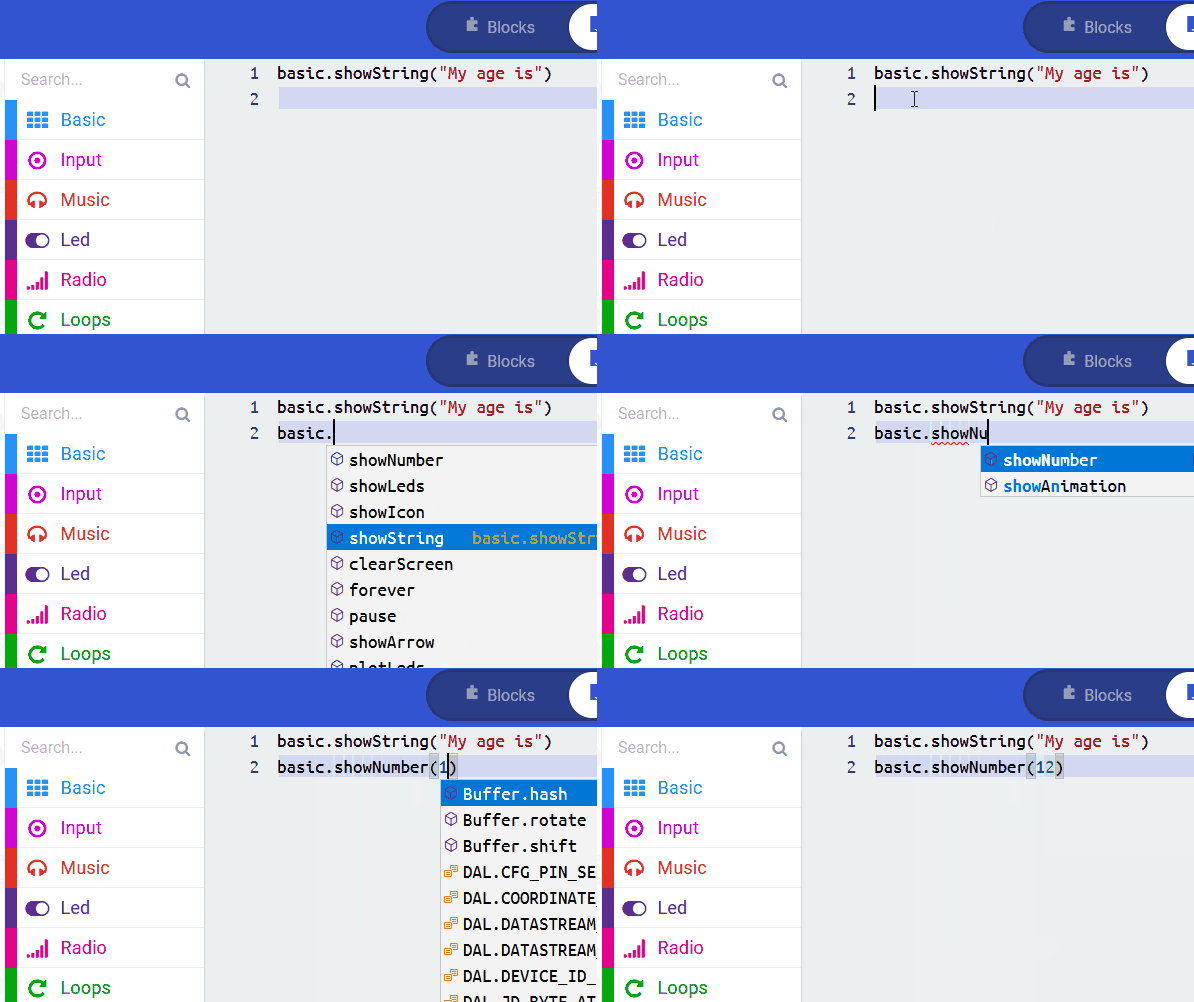
    So far we have just changed one of the lines of JavaScript code. Now let's try adding a new line of JavaScript code to program the Microbit to show your age.

    Add the new line of code to show your age.

    basic.showString("My age is")
    basic.showNumber(12) 
    

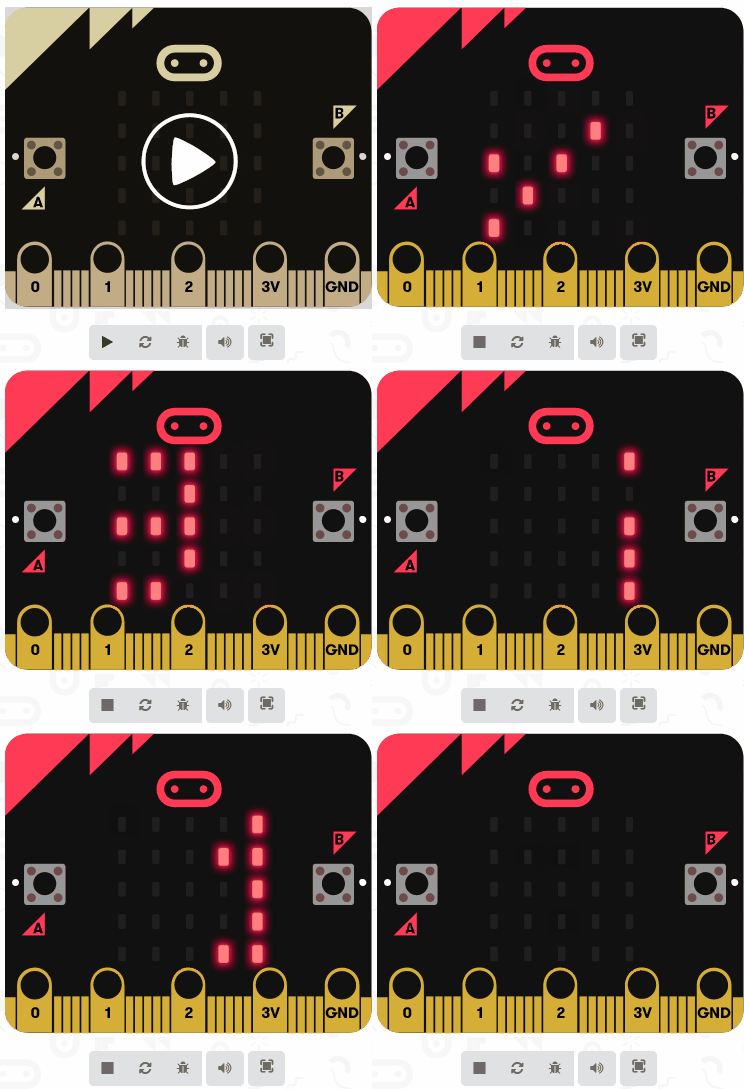
    Now when you run your code in the simulator, it will show the string and then show the number of your age.


    8 - I broke my code :/

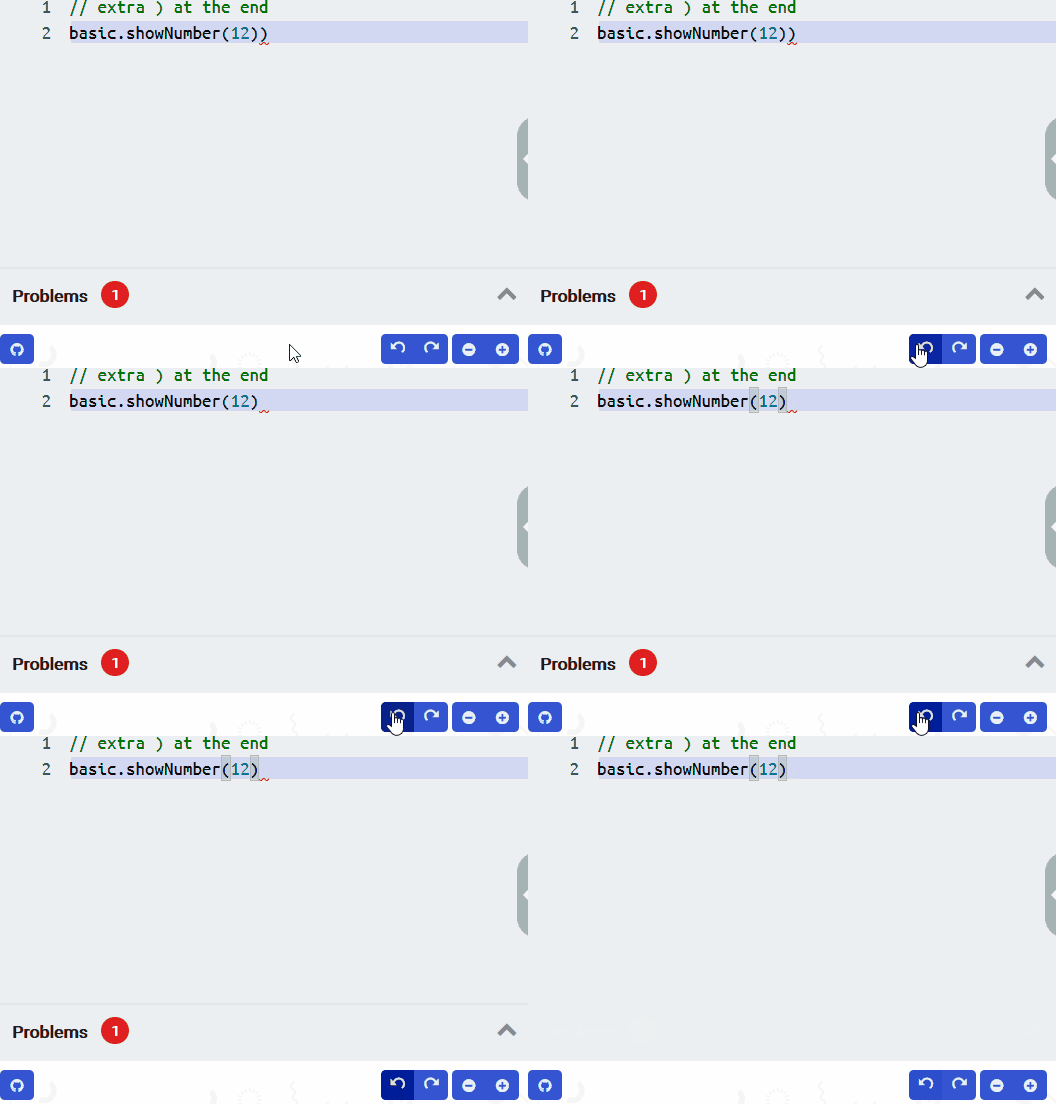
    Javascript can be very picky with the syntax (syntax is the proper use of words and symbols) of your code. Just one misplaced letter and it will refuse to run again. It is quite normal to make lots of mistakes!

    Here are some examples of mistakes.

    Note that the editor puts a red line under the code that is broken and when the code is fixed the red line goes away.

    If you do make a mistake you can use the undo button  to undo the last thing that you did.


    9 - Program a button

    OK let's try some more Javascript code. This time we will program the A button to make the Microbit show an icon.

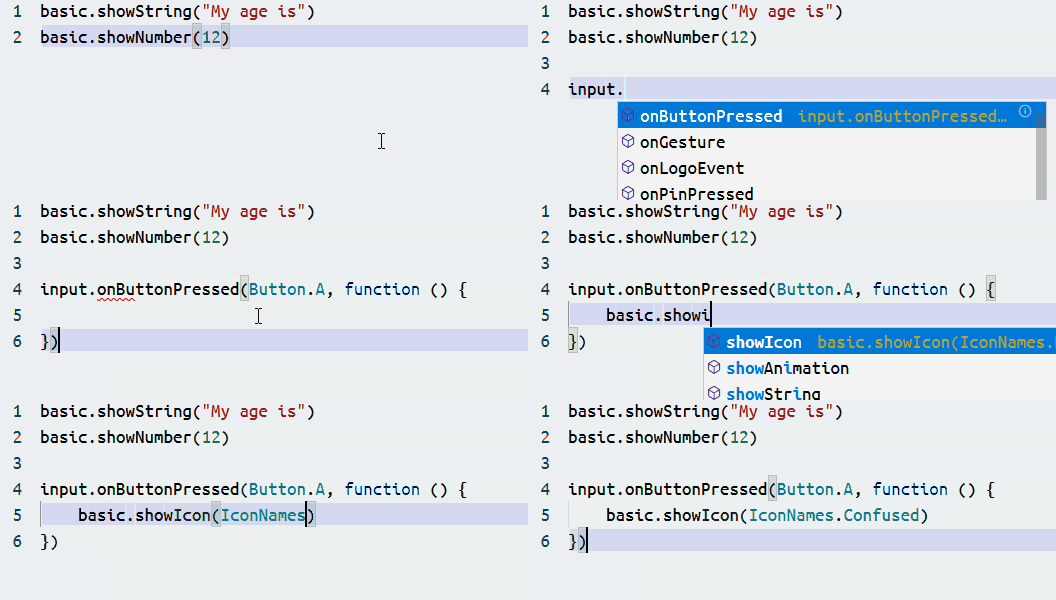
    Go onto a new line and add the following code to your project.

    basic.showString("My age is")
    basic.showNumber(12)
    
    input.onButtonPressed(Button.A, function () {
        basic.showIcon(IconNames.Confused)
    })

    This code programs the button A with a new function when it is pressed. The new function will show the confused icon.

    Notice how it tries to figure out what code you are trying to add and gives you suggestions. If you press the tab key on your keyboard or click on one of the suggestions it will automatically add that code to your project. This saves a lot of time!

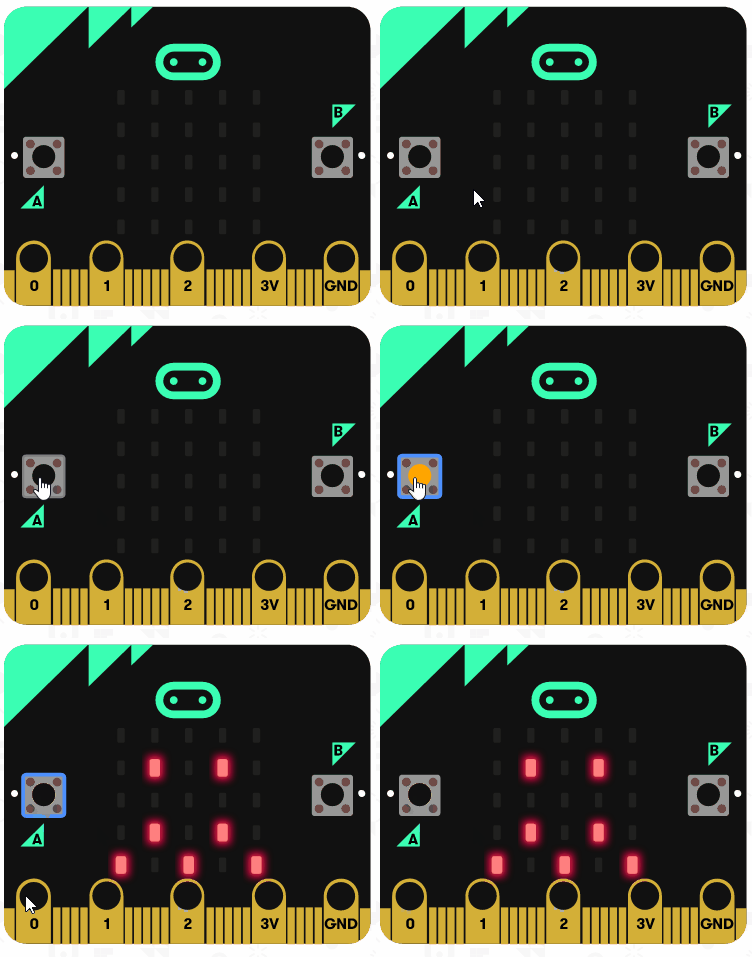
    Click on the button A in the simulator and the Microbit should show the icon.


    10 - Wrap Up

    You've just taken your first steps into JavaScript, a powerful language that makes websites come alive. You've learned how to switch from blocks to text code, write simple sequences, handle strings and numbers, and even program a button on the Microbit. Remember, making mistakes is part of learning – keep practising and experimenting.

    End of lesson
    123learn · Sample lesson

    That was a sample lesson from Coding with JavaScript

    Every lesson in the course is ready to teach like this one. See what else comes with it, and how to order it.

    Copyright Notice
    This lesson is copyright of 123Learn.org 2017 - 2026. Unauthorised use, copying or distribution is not allowed.
    🍪 Our website uses cookies to make your browsing experience better. By using our website you agree to our use of cookies. Learn more